
Why build a workbench?
For students enrolled on the twelve month course there are a series of projects that they must complete. These projects include lap joints, winding sticks, book ends and a jewellery box. They are specifically designed to train the student in the core skills they will need when they start working as an all-guns-blazing cabinet maker out there in the real world. But before they embark on designing and building their own pieces of furniture, they have to build a workbench.
The biggest training project, literally and by some margin, is the bench. The student will have spent three or four months being trained in relatively simple, small scale projects. The bench is the first opportunity to build something that captures all the skills they have mastered. Then it throws in a whole load more and gives them the chance to design something bespoke.
Best of all they are designing something unique to them, a made to measure workstation that will follow them for the rest of their cabinet making lives… So it better be good!
Joints and Components
The top has to be jointed together over lengths up to two metres long. The joints must be accurate to within 0.25mm. The base is made using standard mortices, angled mortices, blind tenons and through tenons. The bench top has a standard vice at on end and the craziest tail vice you ever saw made up of not less than ten interlocking components. The tail vice is a work of art, a fiendish work of art!
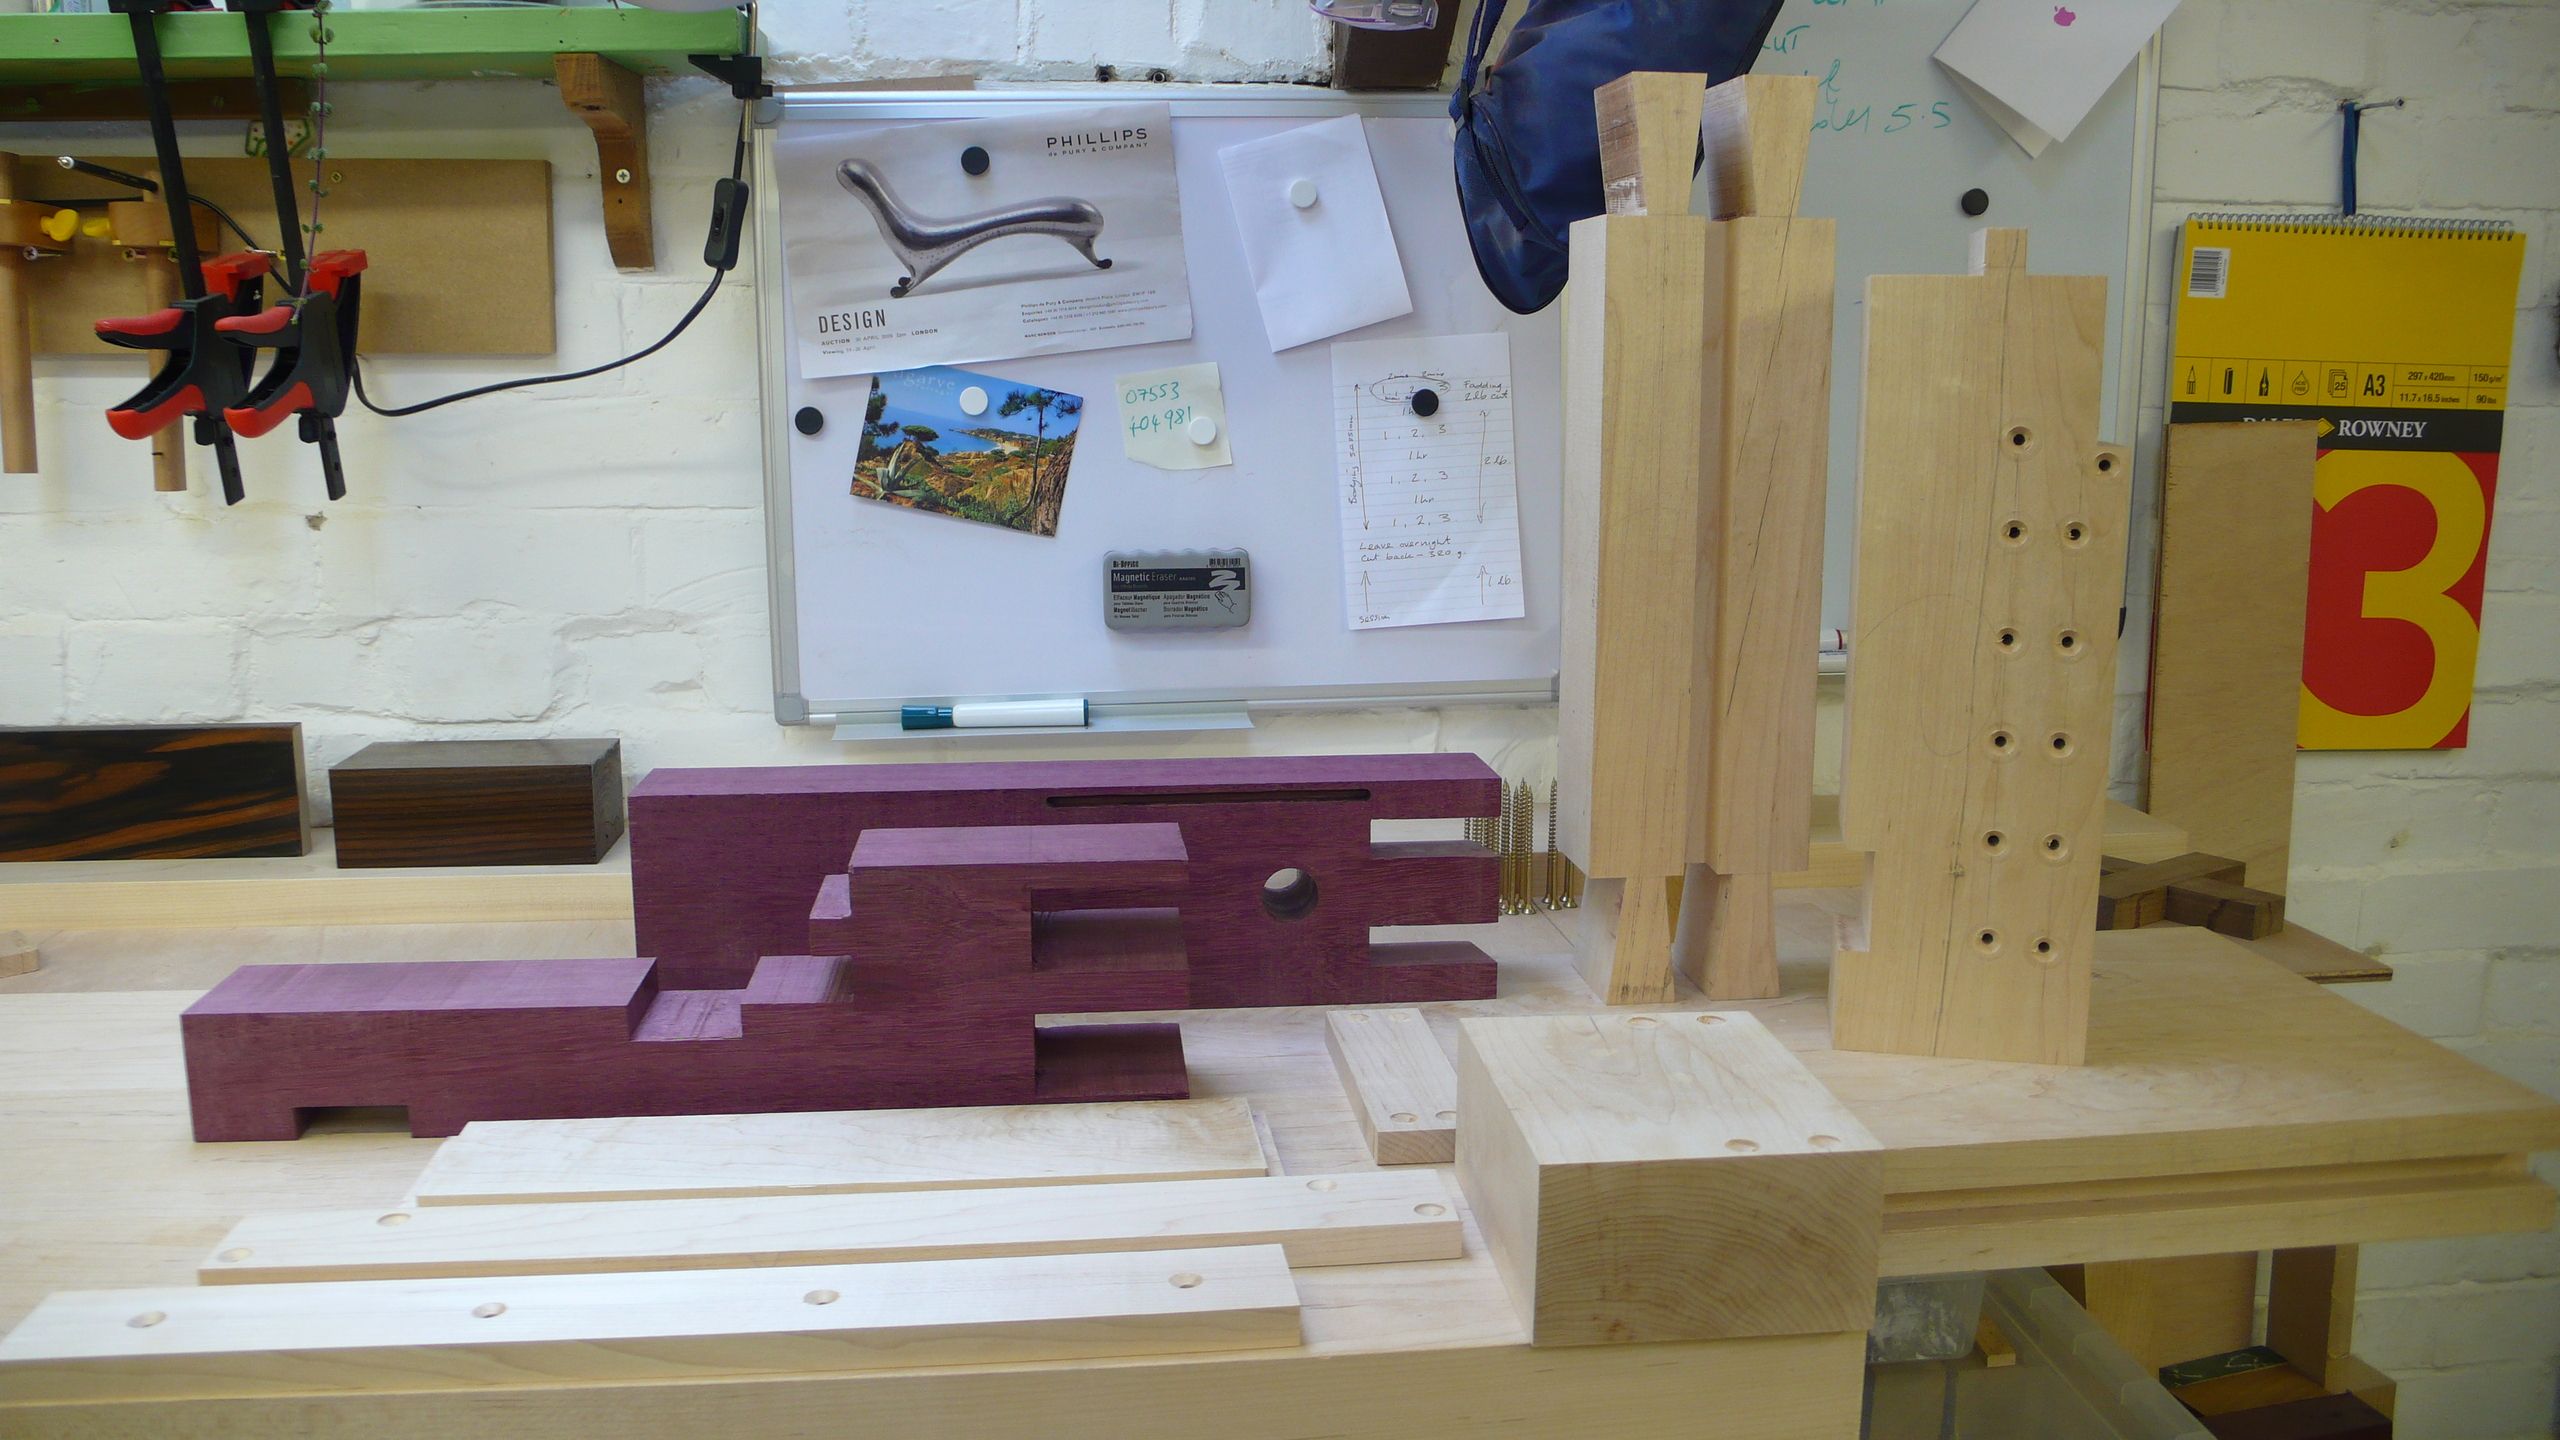
Tail vice components ready to assemble
The bench can be expected to take six weeks or more to make, but the results are often way beyond the expectations of the student, and always a delight to behold. Best of all it is the perfect height for its maker and built to last generations.
For the student it also their first free-standing piece. The first physical evidence of what they can achieve as a maker with a bit of blood, sweat and more than a few tears!
Until next time,
Lakshmi