Old Men and their Tools Part Two
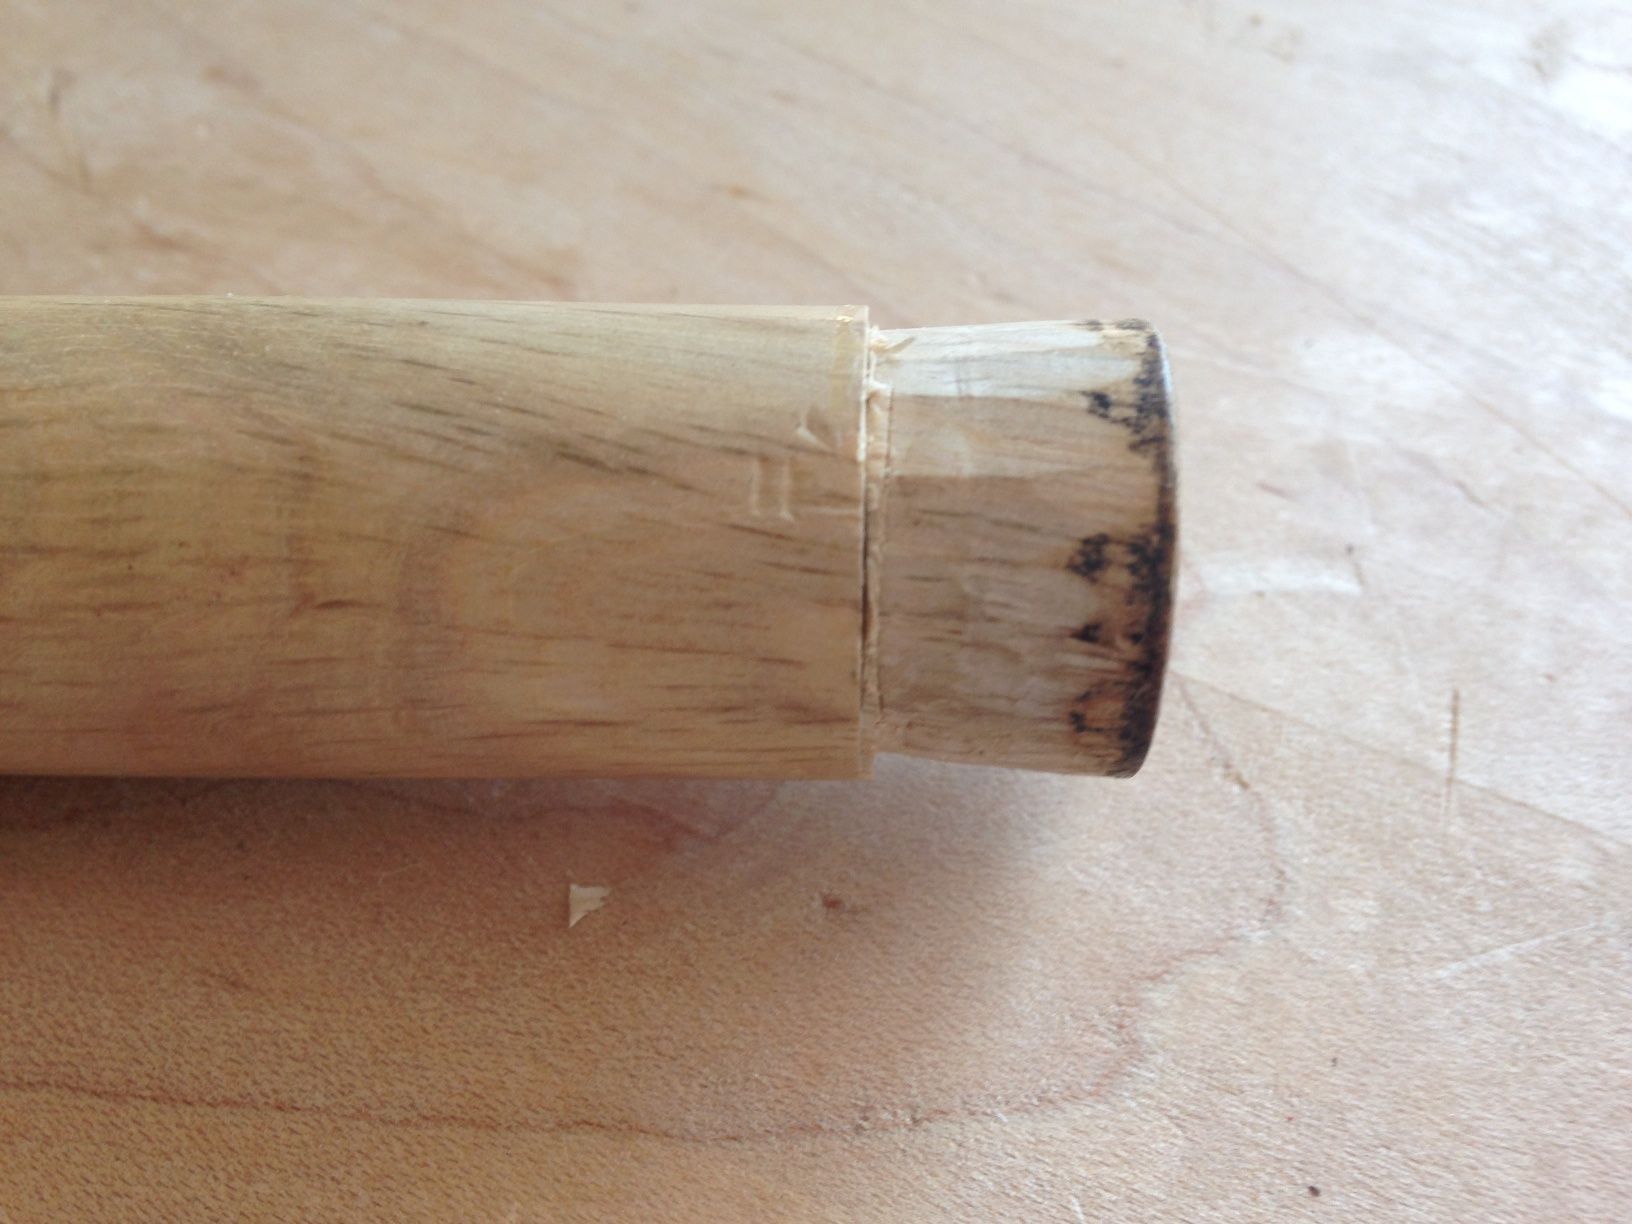
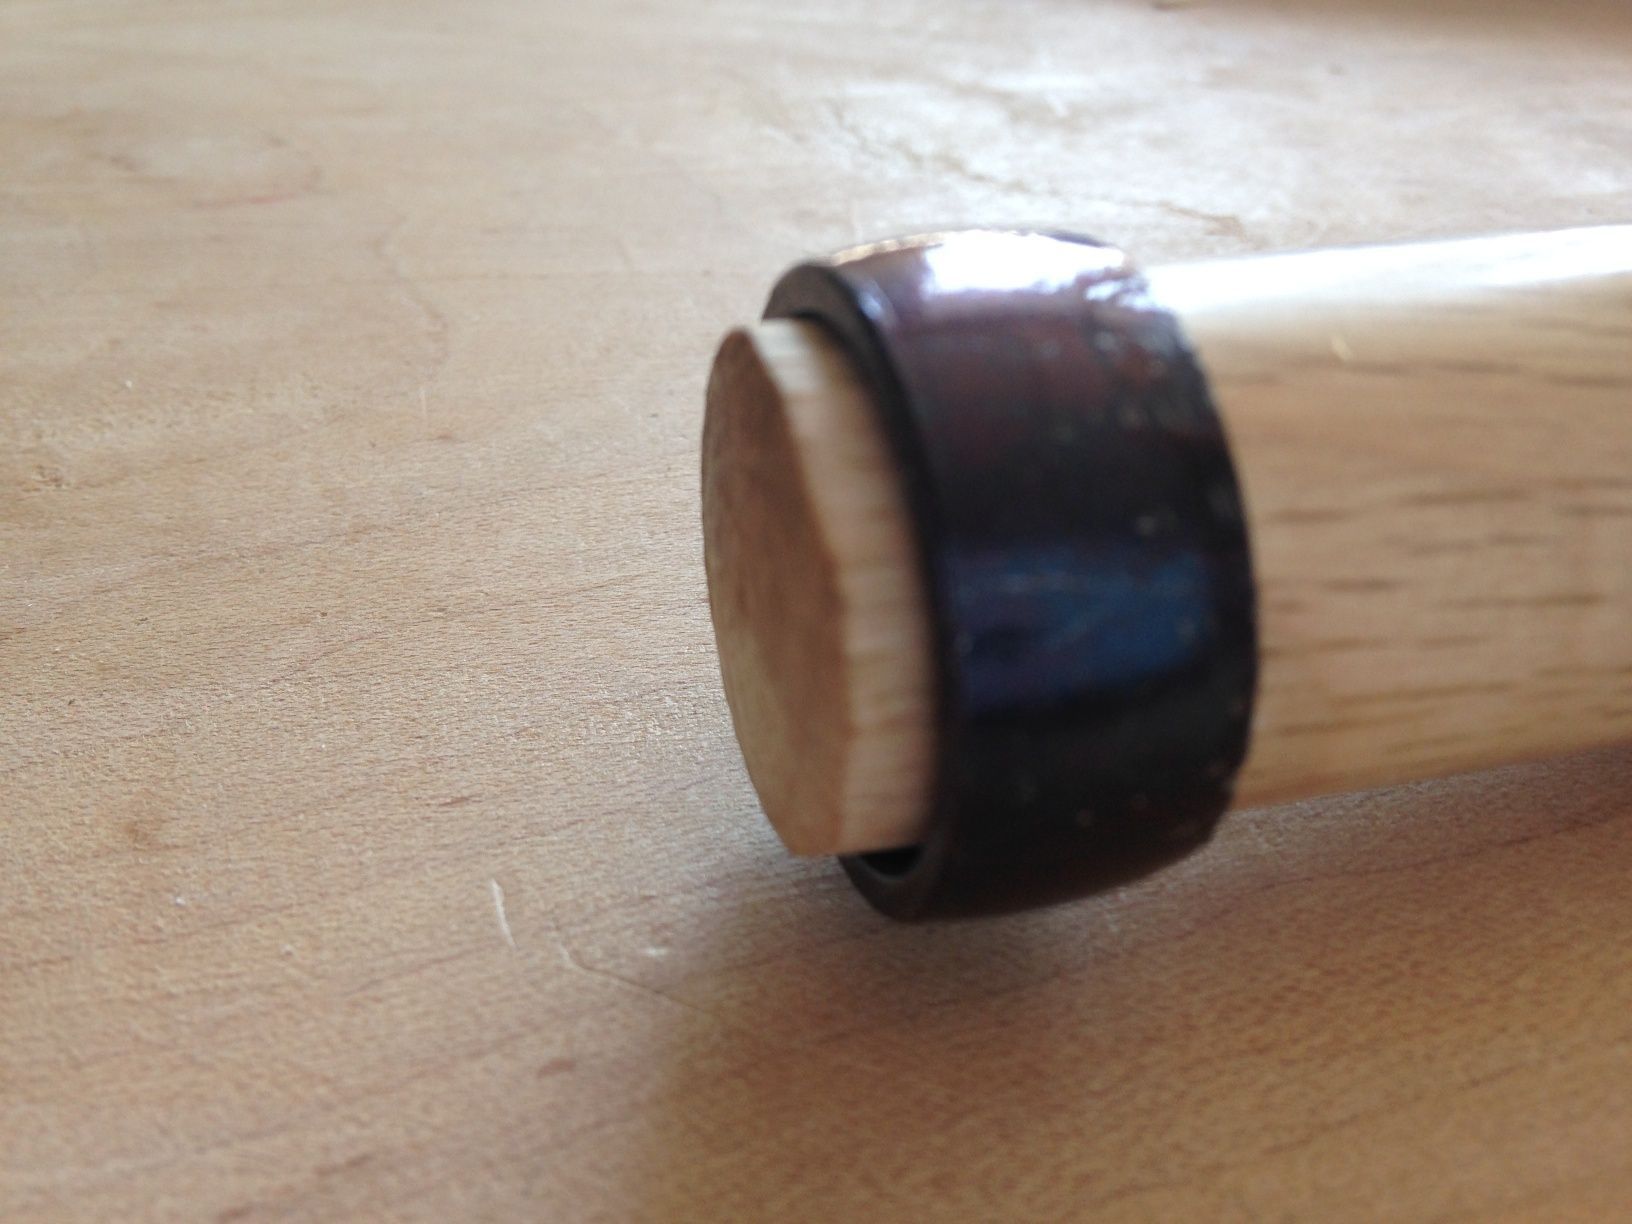
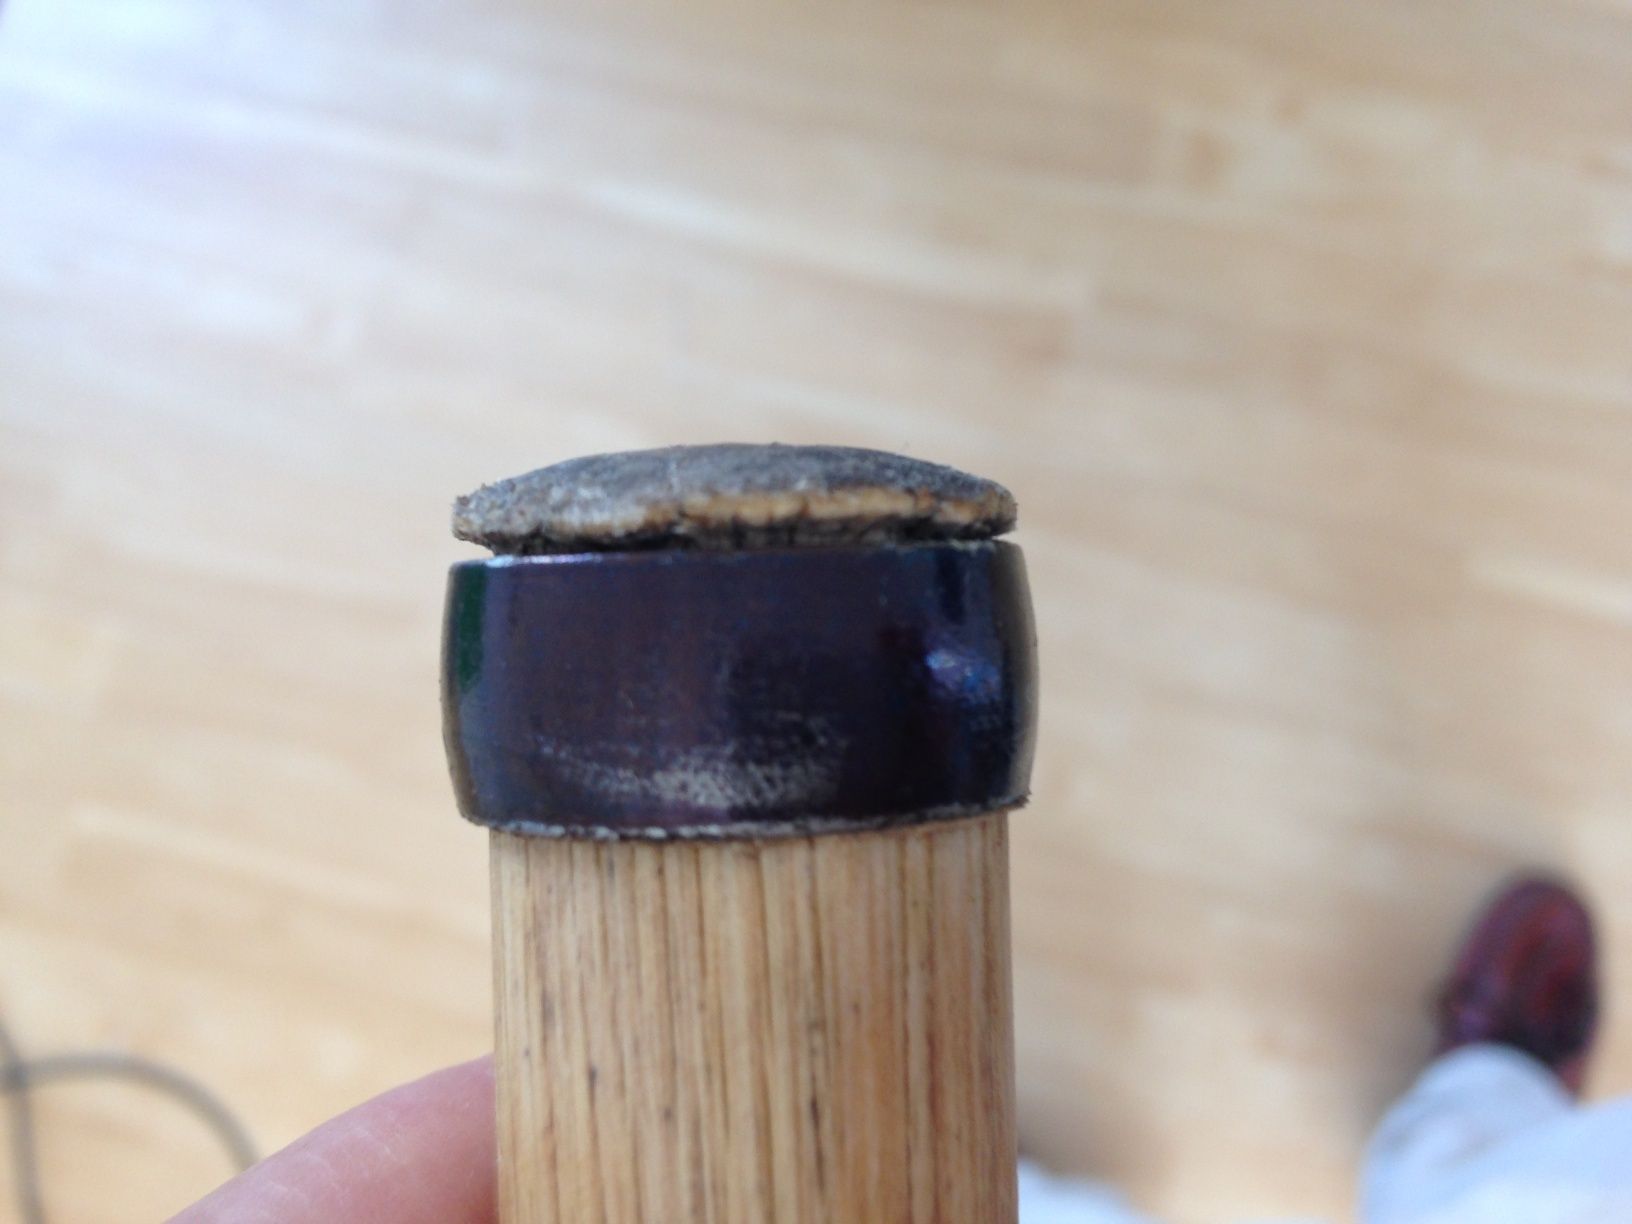
Removing the hoop is a little bit of a game as these are pretty well seated. But tapping around it with a small nail set appeared to do the job. I then gripped the handle in my bench vice and eyeballed a line all the way around the handle. I could have carefully drawn a line but hey! I like eyeballing things, I get it wrong pretty well most of the time but I still like eyeballing. It’s quick and free and a proper way of working.
Once the recess is cut for the hoop check that you have about 5mm of the handle poking through the fitted hoop.
Remove any varnish on the end grain then put the handle in water for a few hours. Now refit the hoop the wood will have swollen so allow to pare a little more away to get a good fit. This is the fun bit take a steel hammer and mash over the fibres of the wet wooden handle.
I set to flatten the back of the blade and sharpening the chisels. Flattening the back of the blade was relatively straight forward, both the new chisels I bought needed to go on to 300 grit stone. I needed probably about 4 or 5 minutes of work to get them nice and flat. As long as the 300 grit greenstone is flat itself then you shouldn’t have any problems. We test that flatness with a finer 1000 grit stone and then a 6000 grit goldstone. Proceeding fairly quickly to the goldstone can tell you how flat you are. The inevitable happened to my first chisel. Everything beautifully flat except for one of the corners. So back we go to 300 grit. Bring that whole of the surface of the blade down to also catch the corner.
Next for general bench use I grind the bevel of my chisels to 25 degrees. A paring chisel might be ground a bit lower at 20 or 22 degrees. These bench chisels came to me the ground from Ouchi-san at something approaching 30 degrees. With Japanese planes, I go the Japanese way and hone the whole of the surface. But with chisels I go the Western way and grind to 25 and just hone the micro bevel on the front of the chisel. Being a professional shop, we don’t use honing guides. There’s nothing wrong with them if you prefer to use them but a professional furniture maker in our experience would not use them.
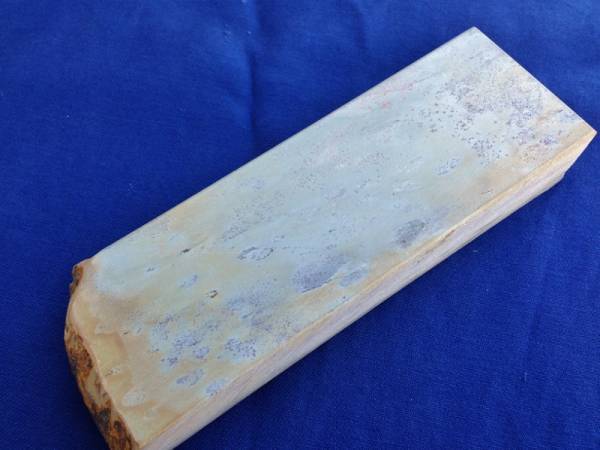
Honing we do with 1000 water stones and 6000 gold stones if it were a plane blade or a paring chisel we might go a step further with finer stones either man made or natural stones like the one shown here.
Last thing is to get rid of varnish and lacquer that Ouchi-san puts on the whole of the chisel to protect it from rust. It’s a hateful substance that takes quite a bit of getting off with white spirit and wire wool. Nonetheless, it then leaves the blade ready for work. Last thing I do with the handle is take the cabinet scraper and run a series of little bevels all the way around the handle. A light coat of oil and we’re ready for work. Buy his work here, it’s the very best http://japantool-iida.com/chisel_bench/index_2.html


