Boy there are some poncy marking gauges out there. I know this is the age of the amateur woody, and Gentlemans Tools Rule, but Jeeeez.
All we need is a stick and a stock and cutting blade . Anyone who knows me and my work knows I go for simple tools and the fewer the better. I spend more time giving tools away to students and mates than buying them. The fewer the better. An old guy once told me that speed is about picking up and putting down tools. This is about building collection of decent professional hand tools for a young maker. There is a competition closing date end of November so if you know a young would be Woodie 25 or under able to come to the U K for a week for the final and able to pay the shipping of the chest if she wins …. GO HERE or tell them to GO HERE.
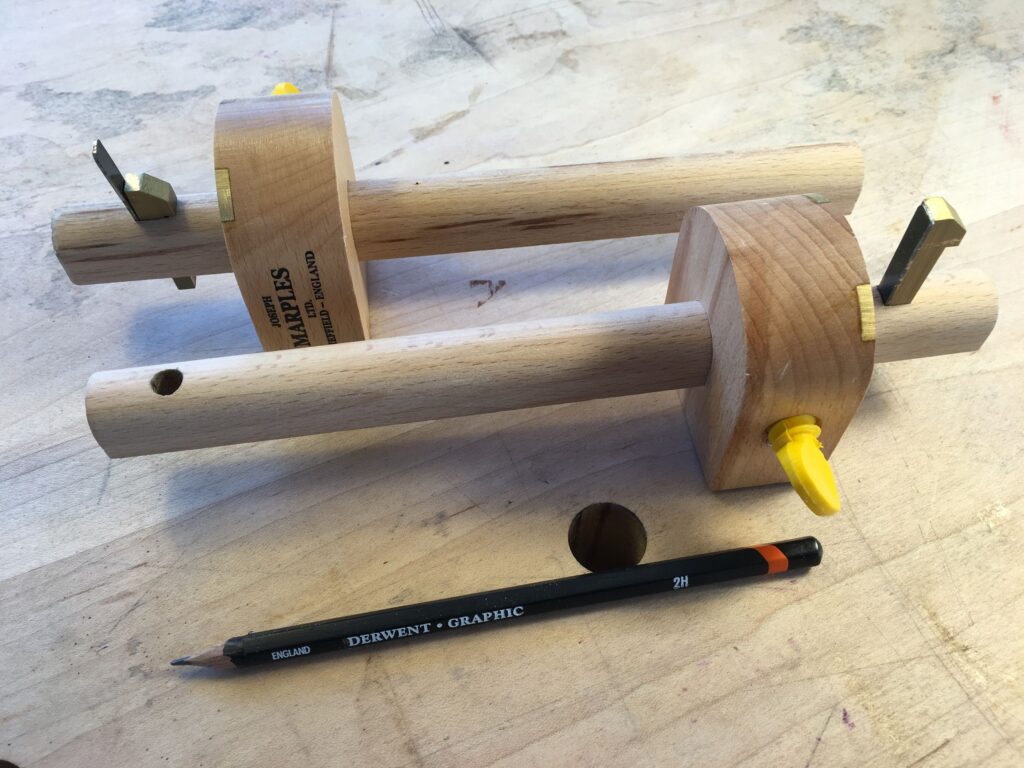
These are the gauges we are putting in the chest . They are simple wooden cutting gauges made by Marples of Sheffield ( O K I admit it, I will if its good go for British tools, but only if its really good) You need about four of these babies in box like this. Two of each. Each gauge would be set up either bevel in or bevel out. (Just buy the gauge then turn the blade around to suit) Like a marking knife the cutter has a bevel on one side only The flat vertical faces the job the bevel faces the waste ALMOST ALWAYS. You need a couple of each because you will want to leave the gauge set up as you move through a process.

Turn this tool into a pencil gauge. Drill a hole in the stock and fit the pencil nice and snug in there. Then you can mark pencil lines parallel to an edge. All for the cost of a pencil

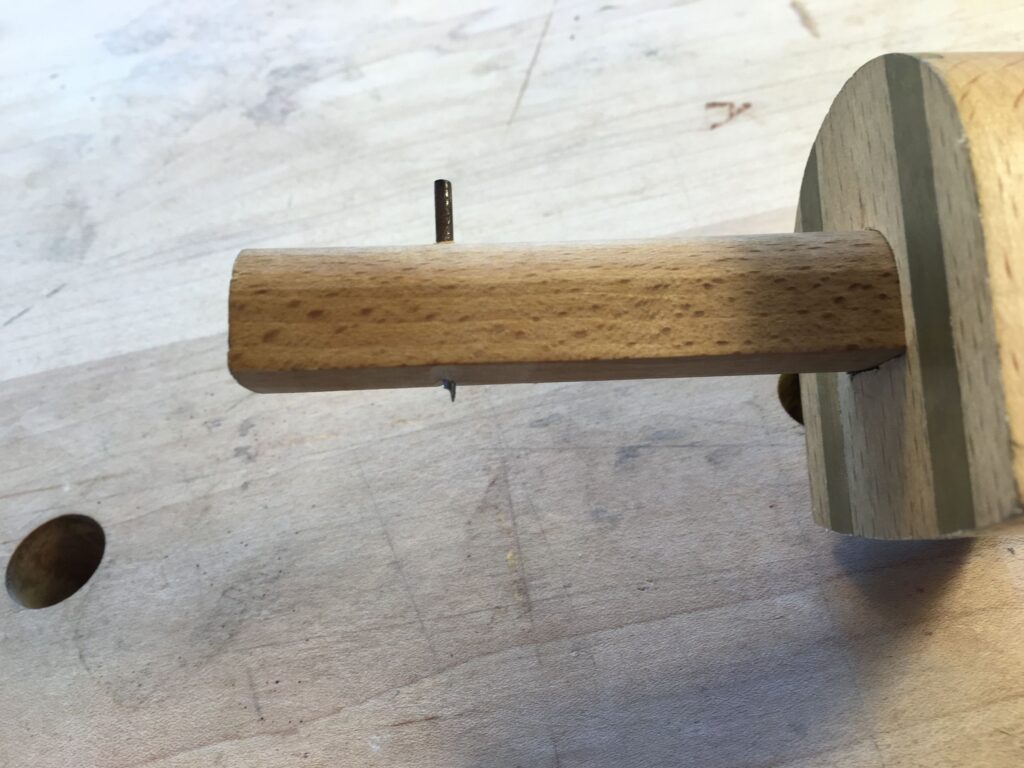
Marking gauges are also popular in this type of gauge . They come with a pin and need sharpening carefully with file . You need a vertical face and a bevel . This is harder to get right than the cutting gauge. Try it and test it on long and across the grain it should leave a clean scribed line in either. The tool makers catalogue says you need both cutting gauge and marking gauge (one for across the grain and one down the grain) . Well, they want to sell tools. It is not true.

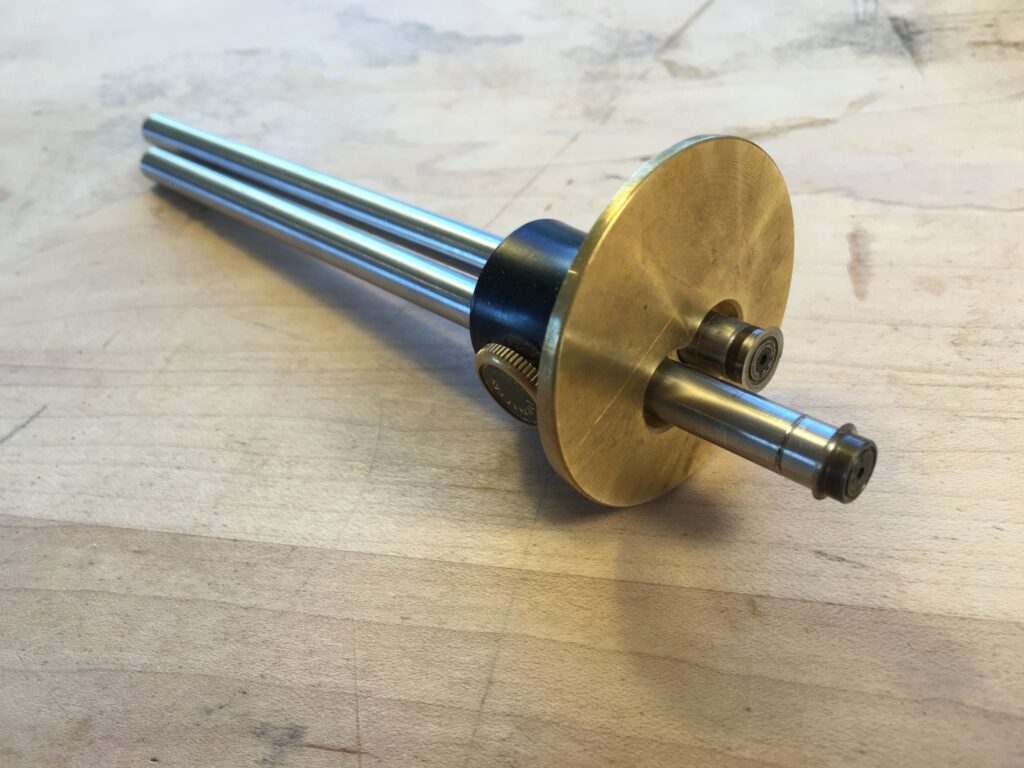
This is a modern Mortice gauge . It has two stems not one. This is mine, we are not giving this away unless Veritas want to donate one. Its expensive but very good. I use it a lot for all kinds of work not just mortices. It has a small wheel on the end of each stem ( one bevel in one bevel out) These turn and give a lovely clean line. They are easier for the beginner to use . What they cannot do is tap and try.
Set the gauge roughly to the thickness of the job, only roughly and tighten the screw . Hold the job in one hand and offer the gauge up to the edge. . The pin is too wide . Now tap the end of the stock on your bench side and check again. Too small tap the other end of the stock. This is the way. Don’t fiddle with adjustments, use you eyes, tap and try.

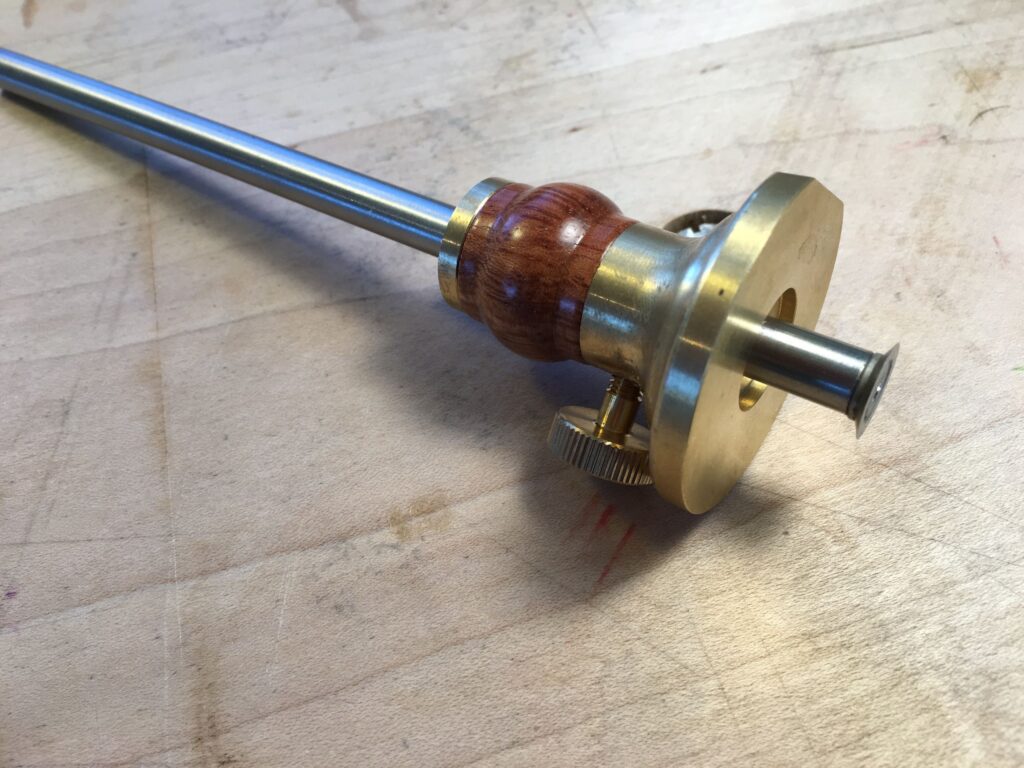
This is another shiney “gentlemans” modern gauge from Workshop Heaven . I bought this a while ago hoping I would get on with it . Looks Purty but I cannot say I get on with it….. yet. She took a lot of sharpening to become usable and still needs bit of work.
